These are instructions on how to remove or uninstall Qualcomm USB Driver from Windows Computer (you can use this method on a computer running on Windows 7, 8, 8.1, 10 and 11).
Steps to Uninstall Qualcomm USB Driver
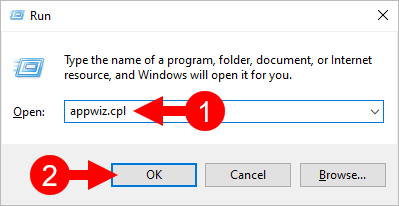
- Open the Programs and Features Window on the computer. To Open Programs and Features Window: Press
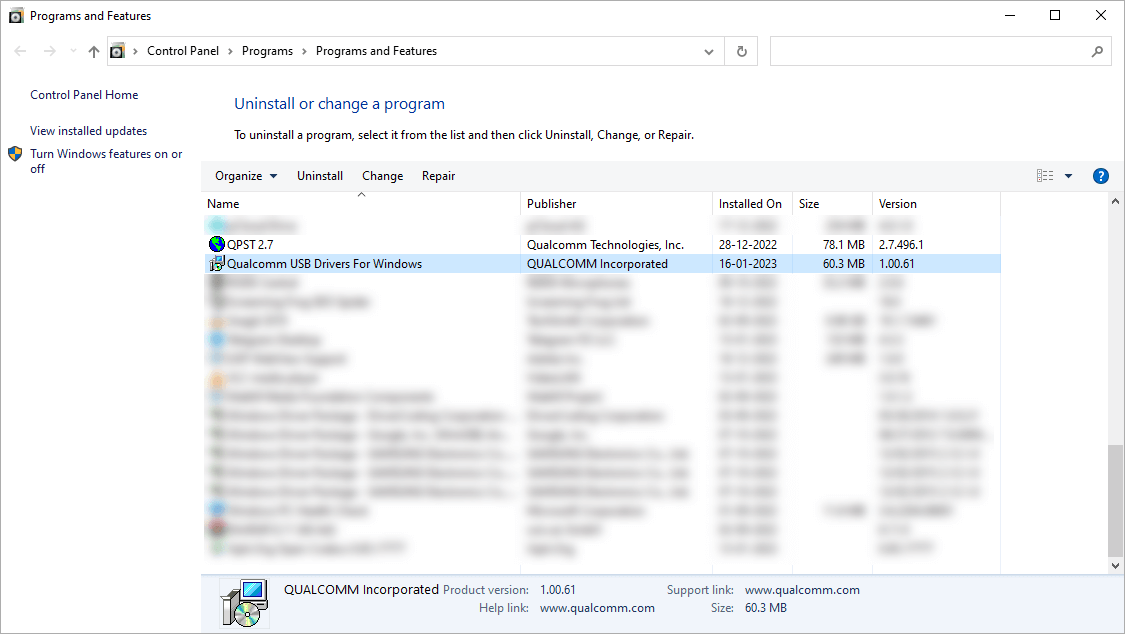
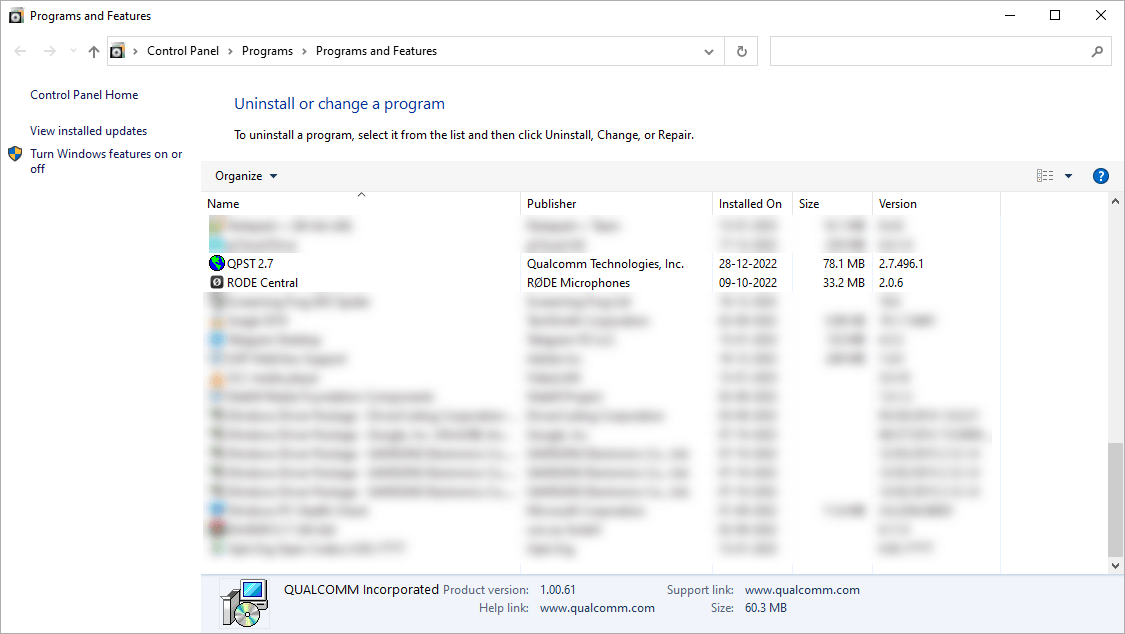
Windows+Rkey and typeappwiz.cpland click on the OK button. - Locate the Qualcomm USB Driver for Windows from the list:
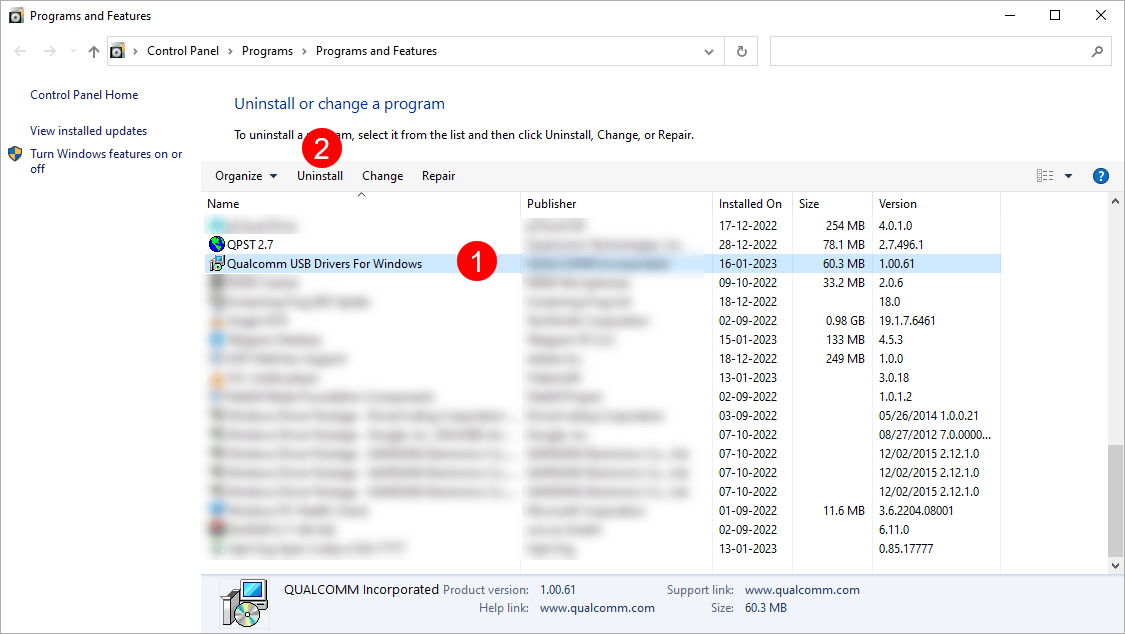
- Select the Qualcomm USB Driver for Windows and Click on the Uninstall button. Alternatively, you can also double click on the Qualcomm USB Driver for Windows to launch the Uninstallation Window:
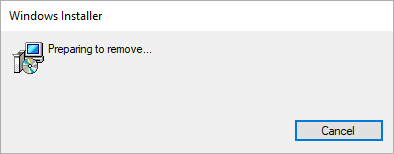
- Now, Windows will prepare to remove/uninstall the Qualcomm USB Driver from the computer.
- Once the Uninstallation is completed, you will no longer see the Qualcomm USB Driver for Windows application in the Programs and Features Window.
Congratulations! Now restart the computer. Once the computer is restarted, all the associated registry entries will be removed or deleted.
Readme Once:
[*] Download Latest Qualcomm Driver: If you are looking for the latest Qualcomm Driver, then head over to our Download page.
[*] Previous Versions: If you’re searching for older versions of Qualcomm Driver, then head over to our Archives page.
[*] Install Qualcomm USB Driver: If you want to learn to install the Qualcomm USB Driver, then head over to How-to install Qualcomm USB Driver page.